 ×
×
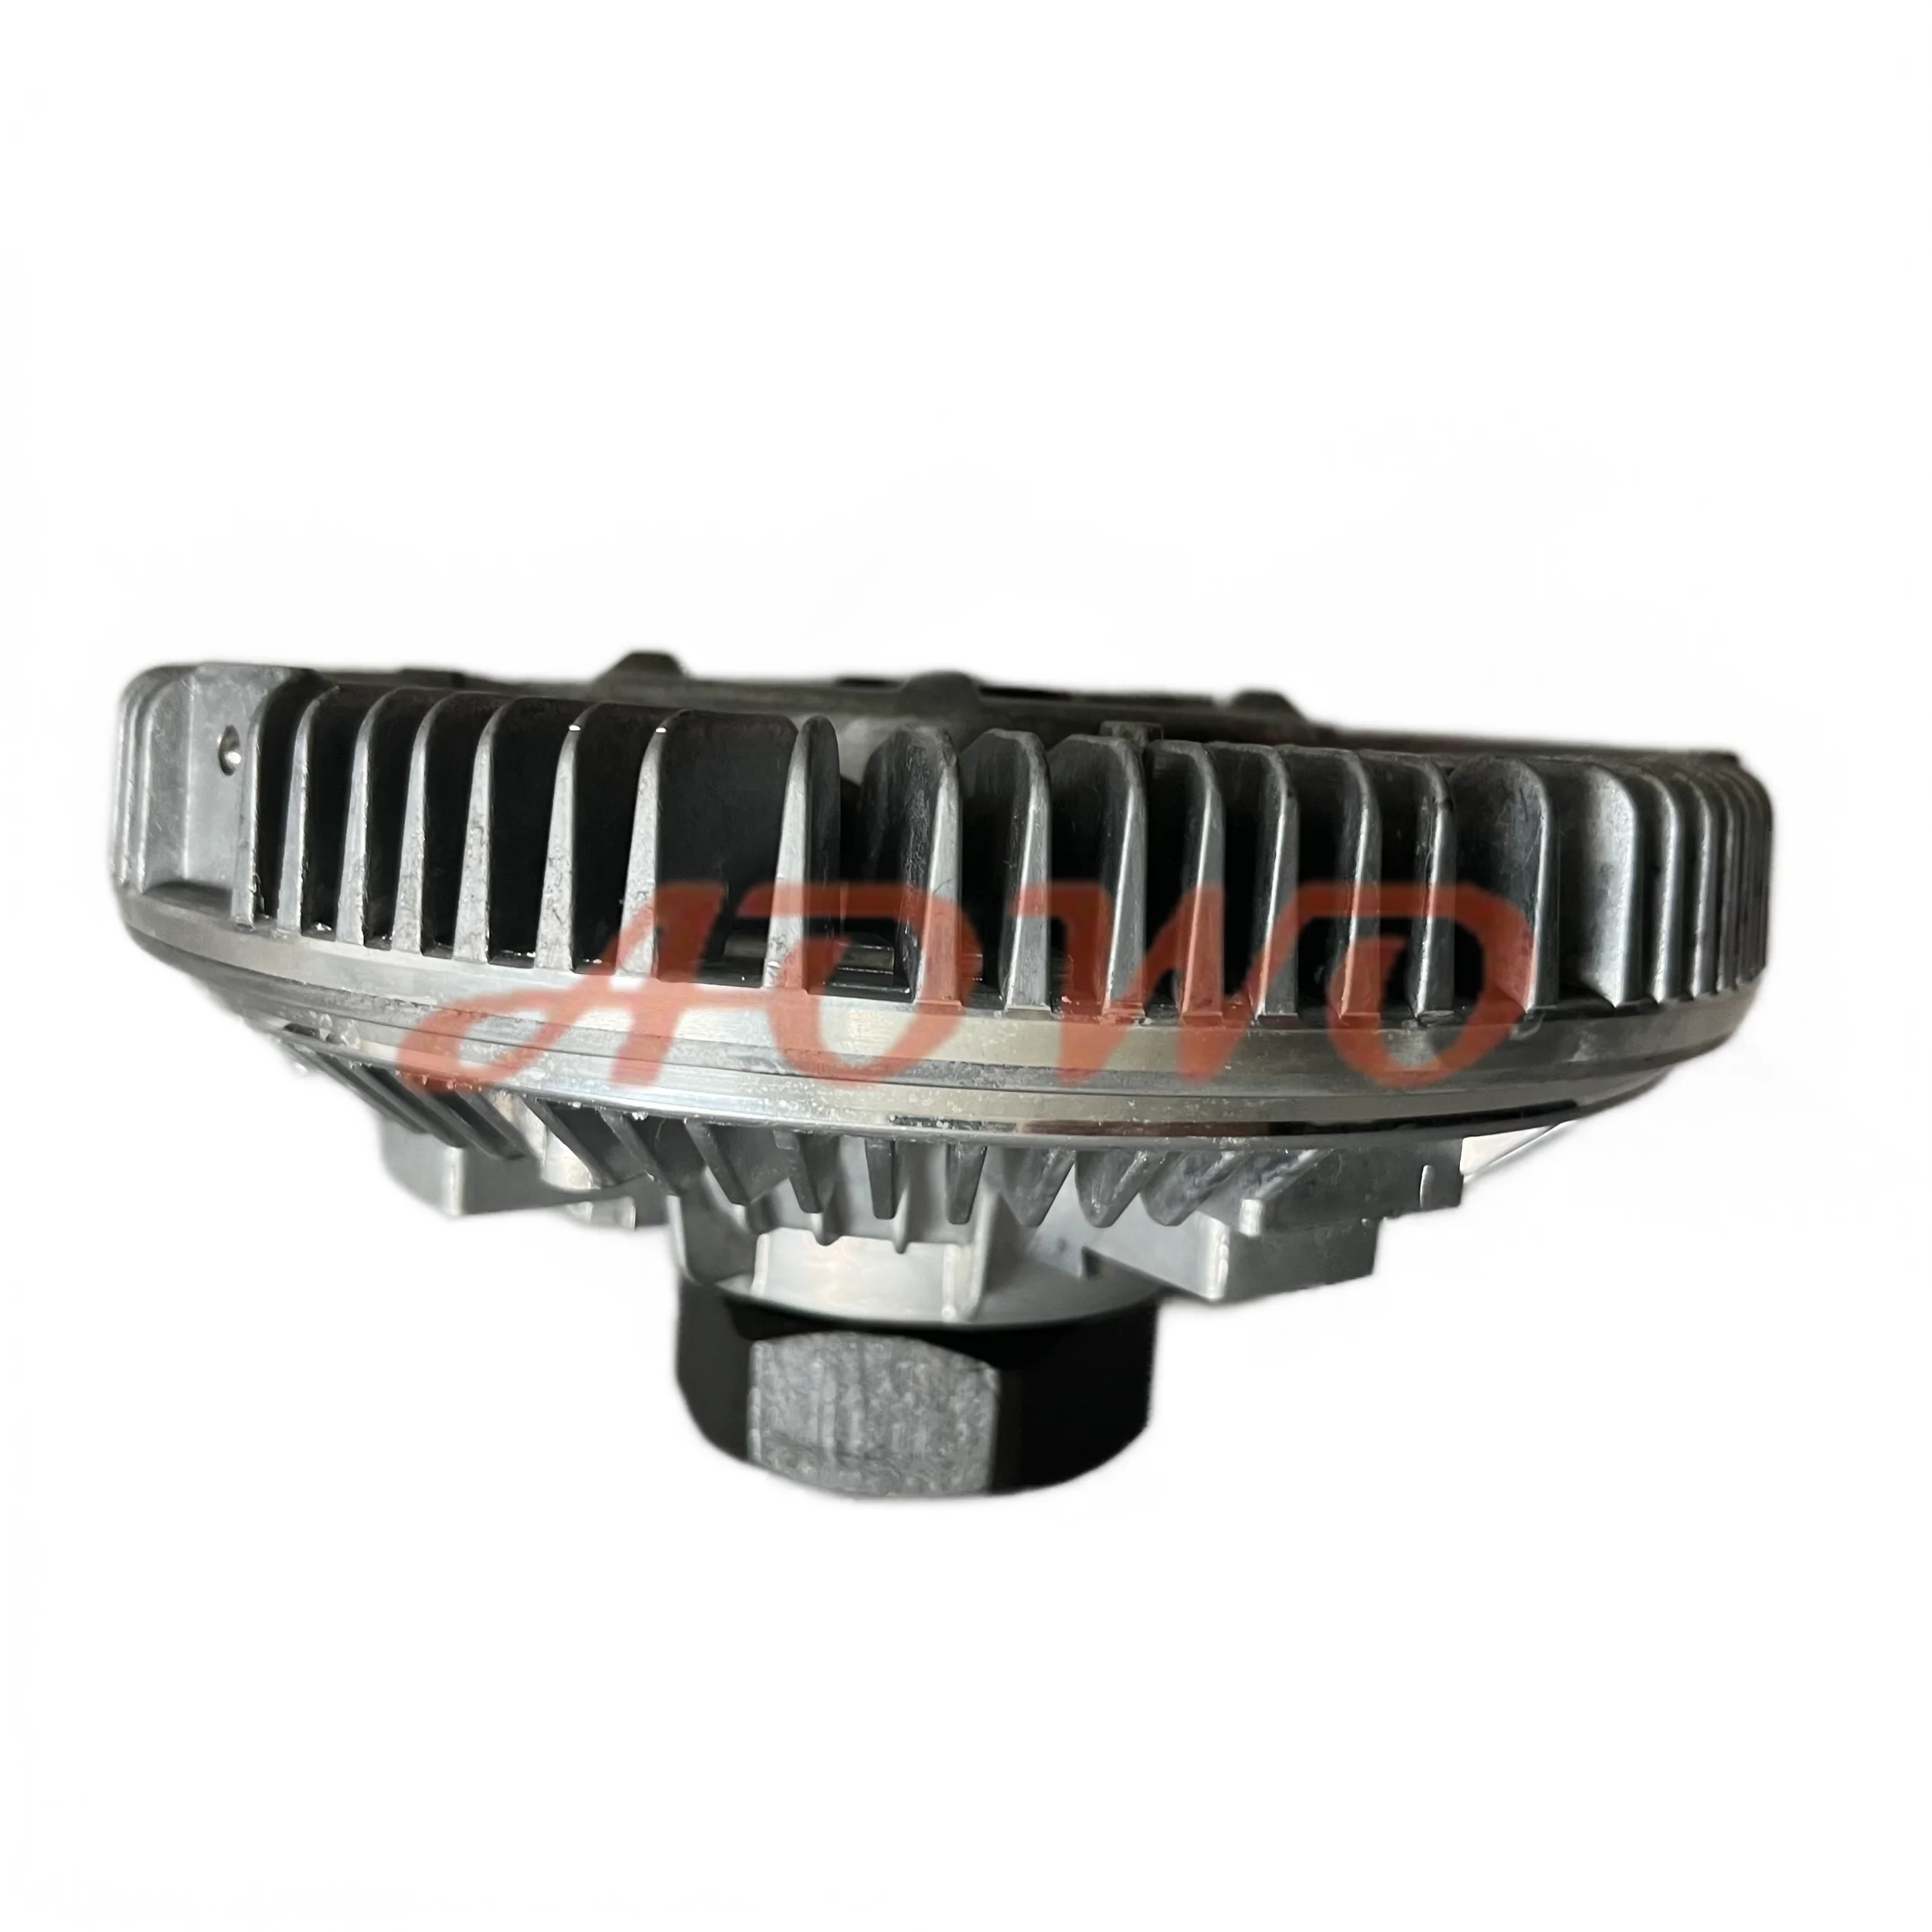
The fan blade has to come off first. To do this, use your allen wrench. Make sure to follow the directions in your car manual, or go get a hand from an adult if you need. When you have removed the fan blade, be very careful not to lose this with it! This will make it easier for you to put all of the small parts back where they belong later.
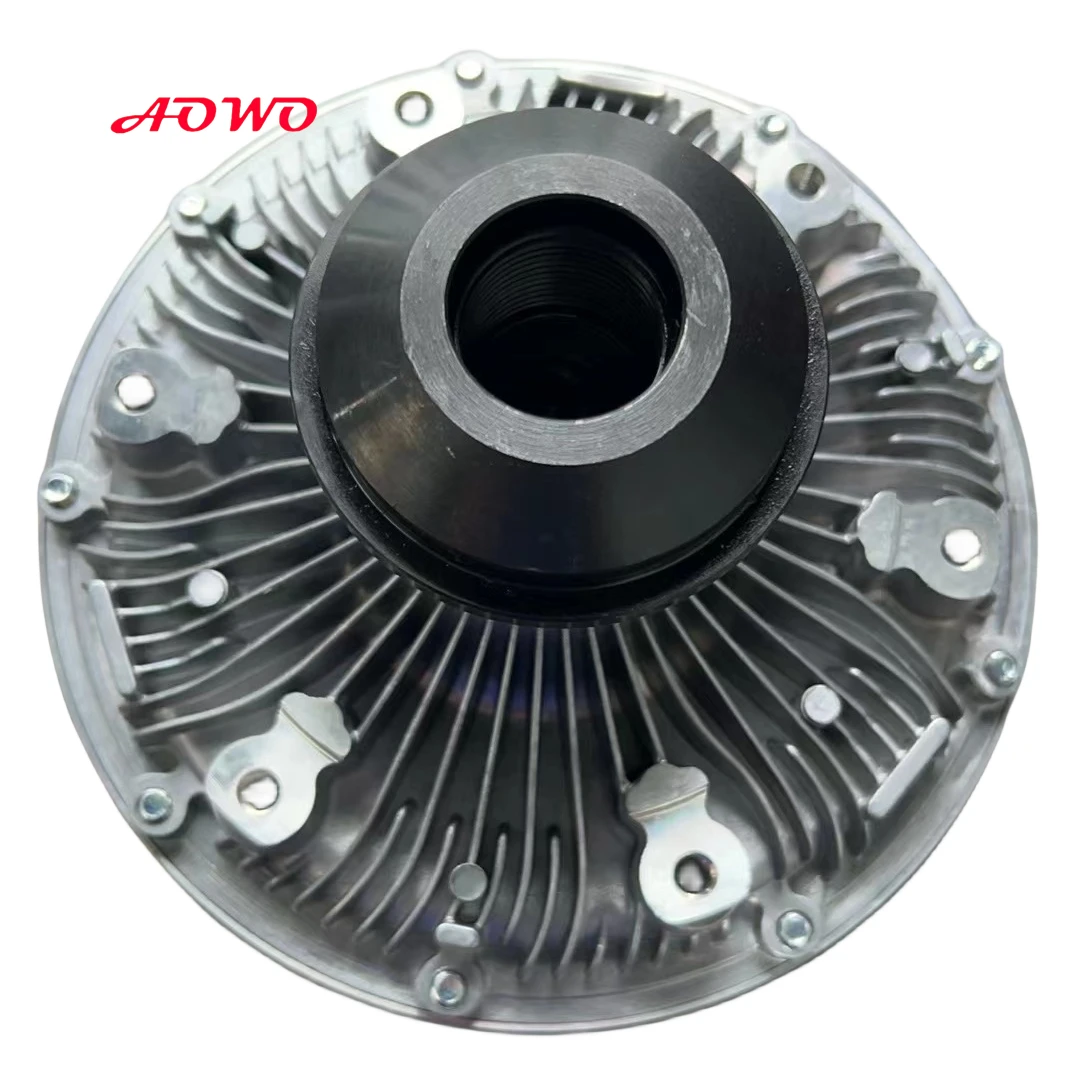
The next place you should clean is the inside of your Horton Fan Clutch. Scrub off any dirt or grime with your cleaning solution and soft brush. Do a really good job cleaning it to get everything sparkingly clean. Once you have finished scrubbing, wipe it thoroughly with another clean towel in order to dry them. The cooler the stronger The fan clutch you clean is better than less.
Now, it is time to replace them with the new bearings. Use the supplied Allen wrench to gently remove your old bearings. Slide them out and put the new bearings in their right spots. Make sure you use the torque wrench to tighten them properly. It means all the components will fit correctly and perform accurately. If its not tight properly, it could not work before the fan clutch later on.
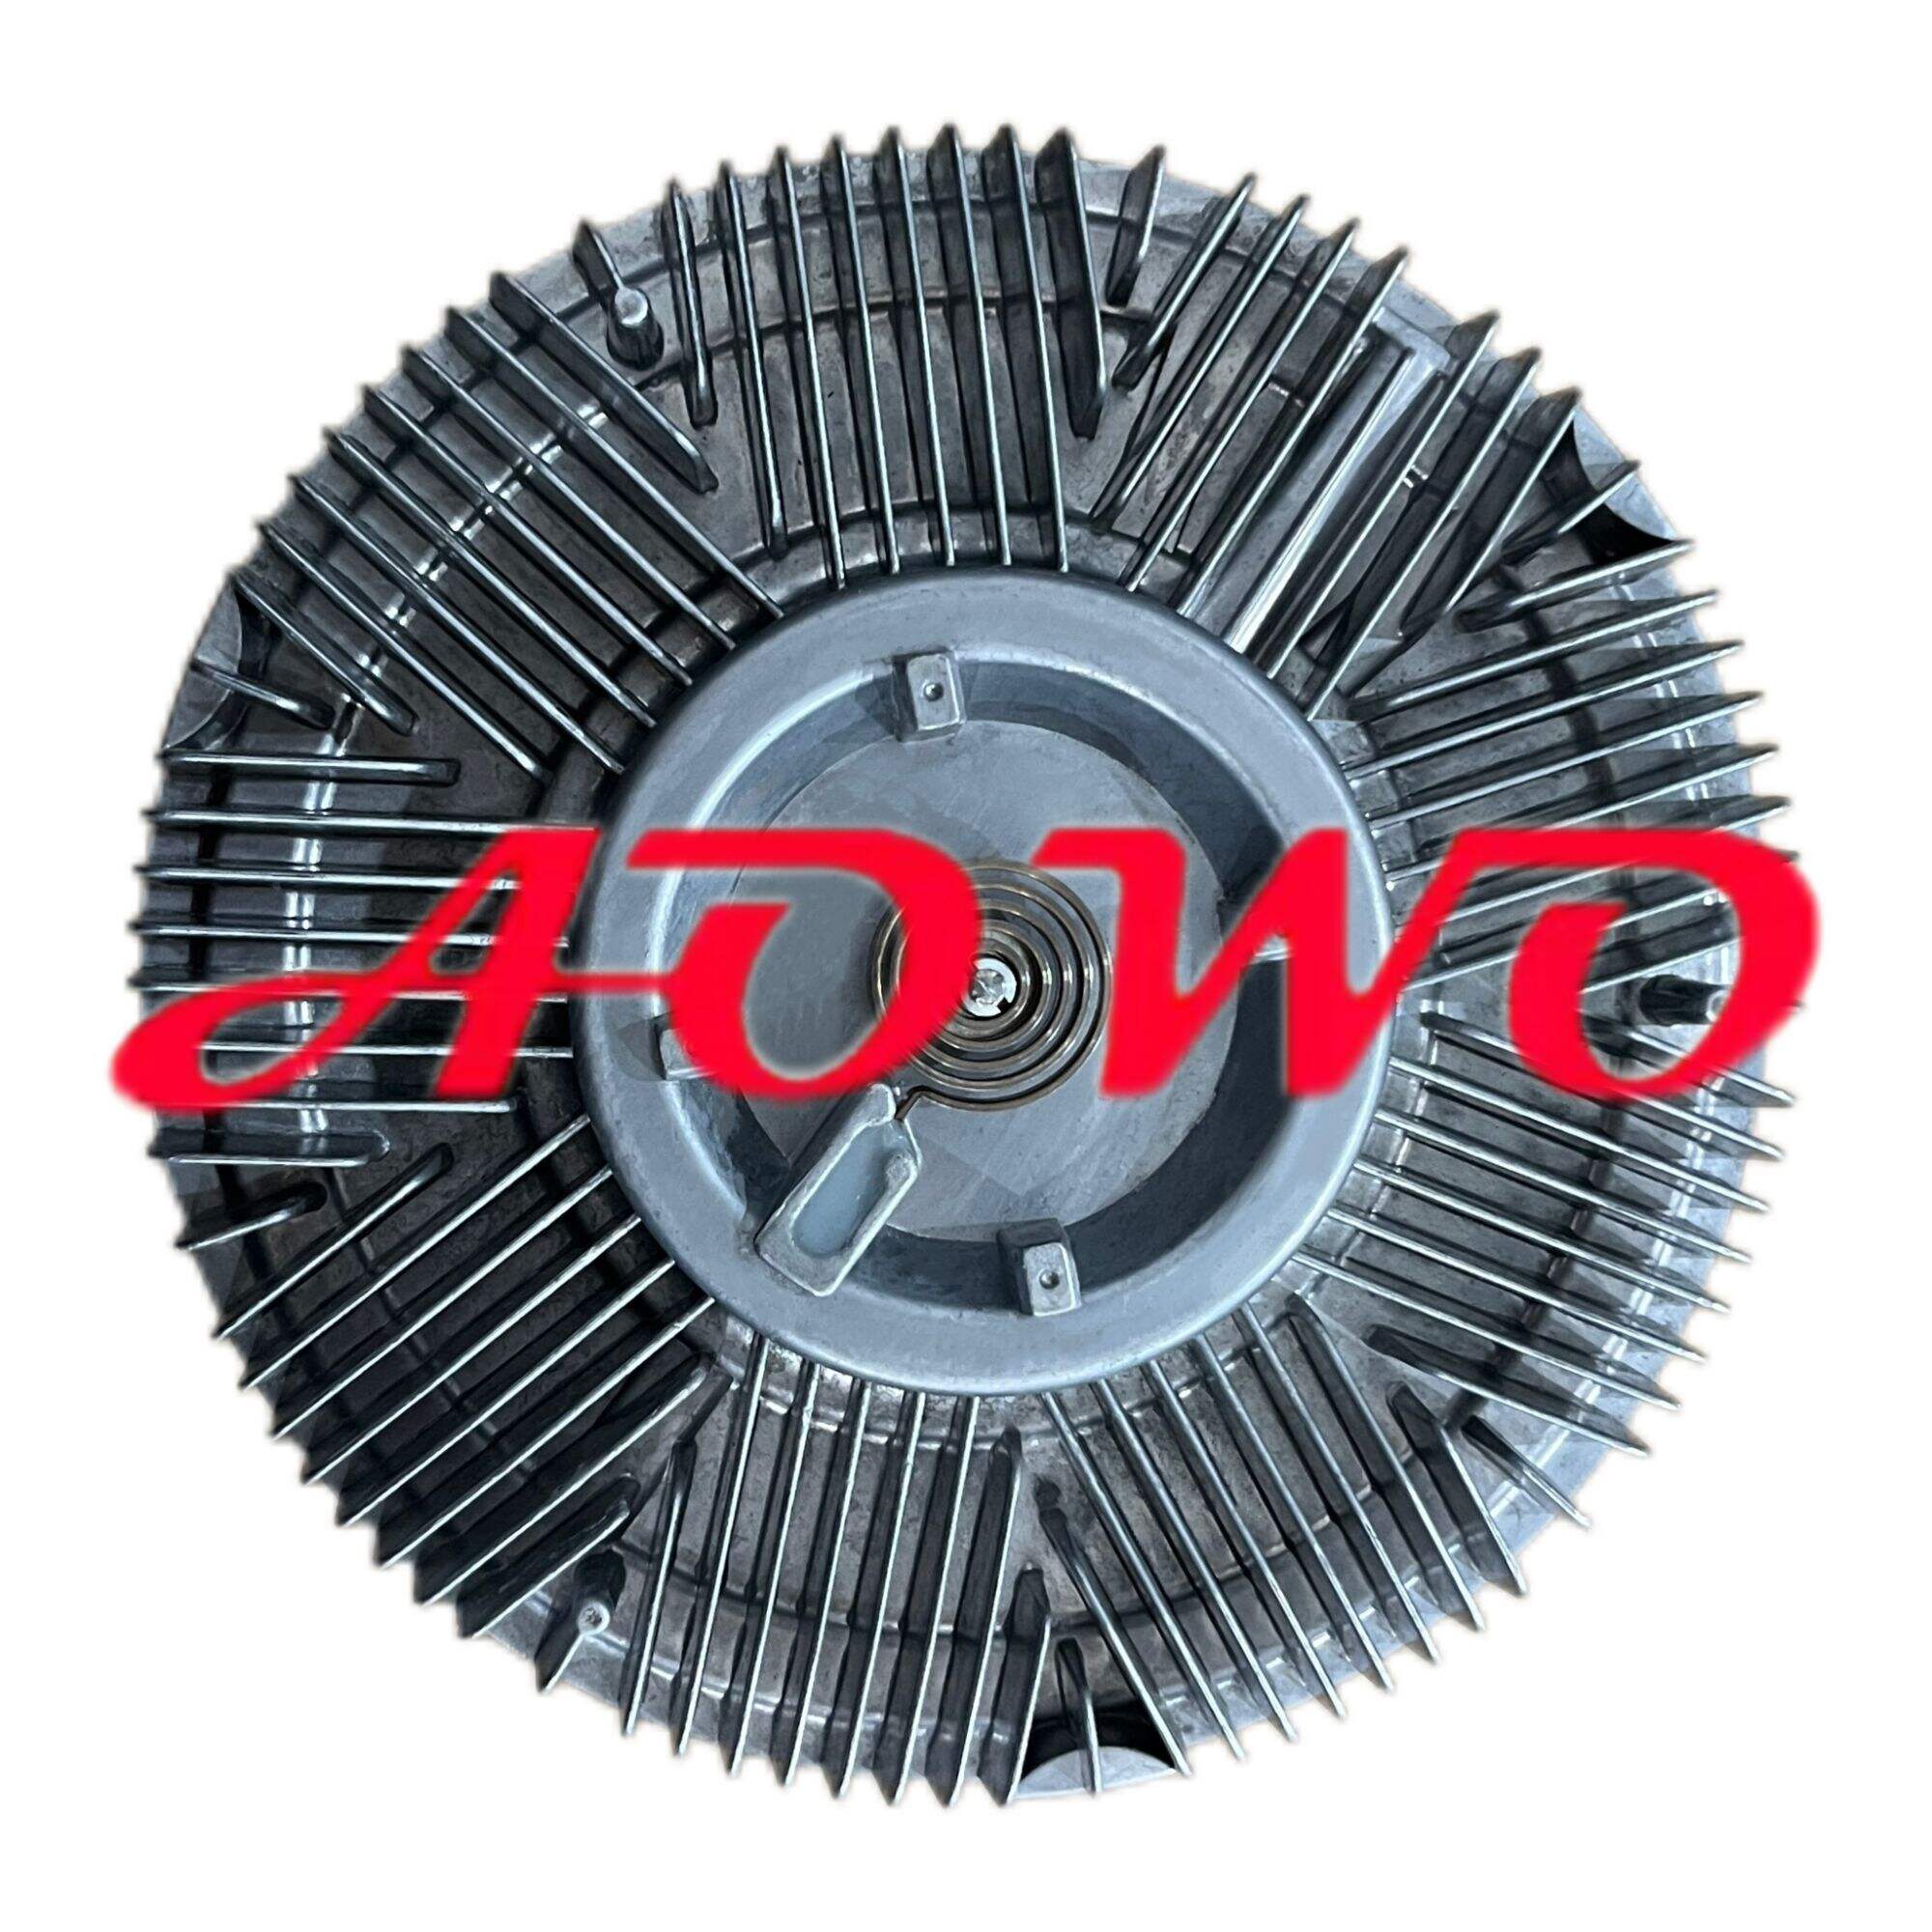
And here we go, the assemble type! To do this, you'll return the spacer to its place. Next, re-mount the fan blade to Horton Fan Clutch. Finally, once you have everything up there and started snug do a final use of the torque wrench to make sure it is tight. With that step completed, you can now reinstall your fan clutch on the vehicle! I mean, it's exciting to see things converge.
Fixing a Horton Fan Clutch might seem to be difficult, but it really is not! All you need is some tools and supplies, then just do it yourself saving spanks of money! And you also do some good for the environment when fixing rather than wasting! You are preventing good parts from ending up in the trash, and that is a great thing to do!
What are the benefits of repairing your Horton Fan Clutch? A - First, you save your money as a result of we hope to not give a damage fan grasp. That means potential savings in the thousands of dollars! Second, you are contributing to the environment because waste is produced mininally. By fixing something instead of throwing it away, you are choosing to do the right thing for our planet. The other one is you acquire an additional ability which can be beneficial in the future. Feels amazing to me when I could do things by myself.
Replacing a Horton Fan Clutch Removing and replacing an air activated strmiling style horton fan clutch can seem like it is going to be more difficult than what it actually ends up being. But don’t worry! The institution I worked for wouldn't do this by design, but with the right tools and following these steps you can perform it on your own to save some money. Soon enough you will have a fan clutch that feels as though it came brand new!
rebuilding horton fan clutch equipped with automated manufacturing line electric fan clutches temperature-controlled fan clutches advanced setup allows us produce products high-precision efficiency meeting needs clients consistently have invested modern equipment such clutch testing equipment other test equipments ensure constant production flow
We have increased our presence domestically and globally since the year 2016 Participation in exhibitions and other activities of exchange in the field has enhanced our credibility as well as our relationship with our customers around the globe This rebuilding horton fan clutch has not only improved our market share but also helped us gain a better understanding of the market's global dynamics enabling us to provide better service to our clients
since 2012 our firm has been working in the cooling system market and focuses on construction machinery fan clutches in the last decade we've built up our expertise and know-how that allow us to create quality fan clutches for fans in the year rebuilding horton fan clutch we formed a partnership with Shanghai Jiao Tong University to increase our commitment to innovation and excellence in the area
Quality is at our core of what we do. Our rebuilding horton fan clutch quality department, filled with highly trained technicians and skilled employees will ensure that each product is in line with the highest quality standards. We have gained the trust of our clients by continuously improving our production procedures, product specifications and delivery times. We're dedicated to ensuring that our products will be sturdy, reliable and durable.


